
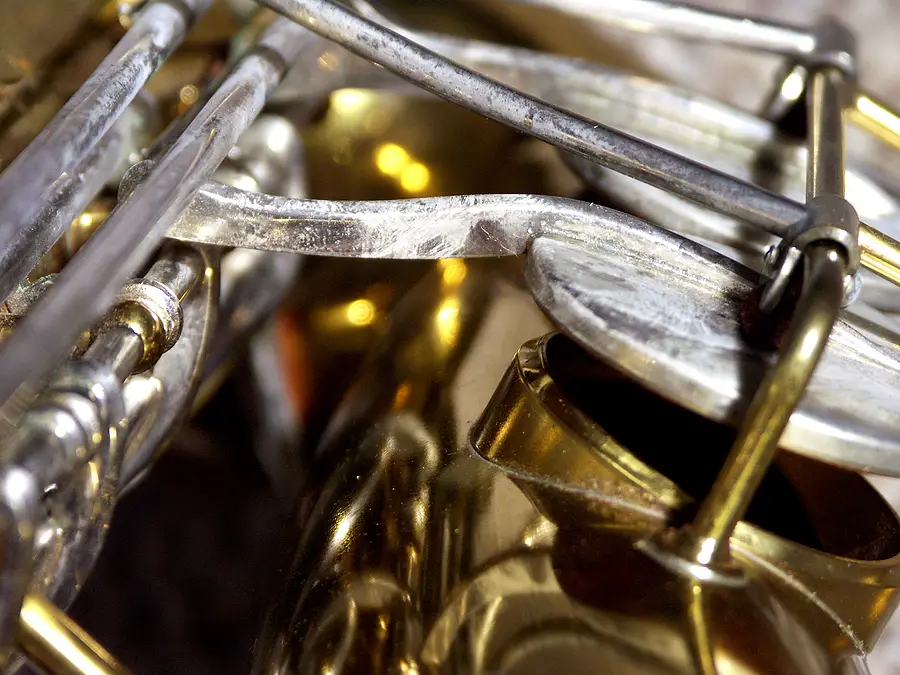
From beginners to seasoned professional musicians, every saxophone player must deal with sticky pads once in a while. Learning how to clean the pads on your saxophone and to properly maintain your instrument is essential for any sax player.
Cleaning sticky saxophone pads involve removing moisture and residue that builds up on the pads because of regular playing. This can be accomplished using a rigid piece of paper, a specially-produced chalked or powdered paper, or a cotton swab with rubbing alcohol.
Whether you’re a saxophonist in a concert band, marching band, jazz combo, or soloist, any task that keeps you from getting to play music can be frustrating. In this article, you’ll learn how to quickly and effectively your saxophone pads so that you can focus on doing what you do best: playing music!
How Do You Clean Sticky Saxophone Pads?
There are several methods to clean sticky saxophone pads, most of them involving sliding a piece of standard paper, dollar bill, special cleaning paper, or applying rubbing alcohol between the key pad and tone hole.
Paper Method
Slide a small piece of ordinary paper between the tone hole and key pad. Press the key down as you slide the paper through, using enough pressure to enable the paper to capture and remove the sticky residue—but not enough to tear the paper. Repeat this process with each sticky pad and tone hole as needed, using a clean piece of paper each time.
Use a Dollar Bill

Many sax players regularly use a crisp, clean one-dollar bill to clean their pads. The paper currency has a better texture than regular printer paper for catching and removing moisture and dirt from your instrument’s pads and key holes. It’s also a little stronger and less likely to rip during cleaning than regular paper.
As in the plain paper method above, insert the dollar between the key hole and pad using enough pressure for the bill to capture any buildup.
This method is especially useful for musicians on the go. Think of a player with a sticking pad in the middle of a rehearsal or gig. A quick fix is needed, and they can’t leave their position. They won’t likely have a clean piece of paper to use for cleaning the pads, but probably have some denomination of paper currency in their pocket.
Specially Produced Cleaning Paper
 Another option for cleaning your saxophone’s sticky pads is to use something like a powder paper. This product is designed specifically for cleaning the pads and key holes of your sax. Additionally, it leaves a slight layer of powder on the pads to help alleviate future sticking.
This is a great way to get your instrument functioning properly, but some sax players prefer not to use this product regularly because that fine layer of powder can cause an excess of build up over time.
Rubbing Alcohol Method
While most saxophone players prefer the paper methods described above, another option is to clean the pads and key holes with rubbing alcohol.
To use this option, douse a cotton swab with rubbing alcohol and clean swipe it on each key pad and around each tone hole to clean away any visible residue. Repeat this process, using a clean, newly doused swab as needed.
This method is very fast and effective for cleaning debris, but it is not recommended as a regular practice for maintaining your instrument.
Because it is a drying agent, rubbing alcohol could be destructive to your saxophone’s pads, causing them to dry out, become hard, and crack. This will cause your keys to malfunction. The pads need to be mostly dry, but require some moisture to be flexible enough to seal around the tone hole to produce pitches properly.
What Causes Saxophone Pads to Stick?
 Saxophone pads stick because residue accumulates in the area of contact between the pad and the key hole that eventually prevents the key’s ability to separate or to open the hole. When the pad becomes too wet, the moisture combines with debris in the air and builds up, causing the pad to stick to the hey hole.
If your saxophone pads are sticking, it doesn’t mean that you’re doing anything wrong. This occurs in the normal process of playing. As you expel air into your instrument to play, particles of moisture travel through it along with the air and can build up over time in the pads.
Brass instruments have a spit valve to reduce the build of saliva in their horns, but woodwind instruments don’t, so you just have to clean them once in a while.
Preventing Sticky Saxophone Pads
While it’s entirely normal for saxophone pads to become sticky from regular use and playing, there are some things you can do to prevent potential stickiness, or reduce the number of times you’ll need to clean them:
- Swab the pads and key holes after playing, every time with paper.
- Do not eat or drink before or during playing; if you do, rinse your mouth to avoid the accumulation of debris in the pads.
- Avoid eating candy or chewing gum (even sugarless) while playing.
- Avoid playing your saxophone outside, especially in humid climates. (Yes, this is probably impossible for marching band players.)
- If you have played your saxophone outside or in a space with high humidity, swab it thoroughly immediately afterward and try to let the pads dry out a little before packing your instrument into its case.
Signs that You Need to Replace Your Saxophone Pads
At a certain point, your saxophone pads will need to be replaced rather than cleaned. You’ll know it’s time to replace your saxophone’s pads when you observe the conditions below:
- Air leaks through the pad when playing
- Pad is hard, inflexible, ripped or torn
- Pad turns a dark green color and remains green even after cleaning
How Do You Change the Pads on a Saxophone?
If you’re observing any of the indicators above, you’ll need to replace the pads on your saxophone. While this is an intricate task that many leave to professional instrument technicians, you can do it on your own, and you can replace individual pads rather than all of them at one time.
Here are the steps to DIY in replacing saxophone pads. If you prefer to see the process in action, here is a video from a woodwind technician: How to Replace Saxophone Pads:
- Determine which pads need to be replaced using a leak light. Place the light inside the instrument while pressing down the keys. If light is bleeding through, the pad needs to be replaced.
- Remove the keys by unhooking all the springs and turning the long screw that runs down the instrument to hold them in place. Using pliers, pull the screw out from the bottom. The keys will fall off.
- Using a safe heat source, heat each key, and remove old pads. Pads come off very easily when exposed to heat.
- Heat each key again and place a new pad inside the key. Glue it into place using adhesive recommended for your pads, making sure pads sit evenly inside each key.
- Reassemble your saxophone by hooking the springs, tightening the rod, and screwing the rod back into place. Then make sure to repeat the leak light inspection and be sure that each key is functioning freely.
Final Thoughts
You practice long and hard to improve your technical playing skills. Sticky pads can hide virtuosity and mastery of your saxophone, but they are simply a fact of life for any woodwind player. Following these guidelines to clean your sax’s sticky pads will not only allow your skills to truly shine through but will prolong the life of your instrument.