
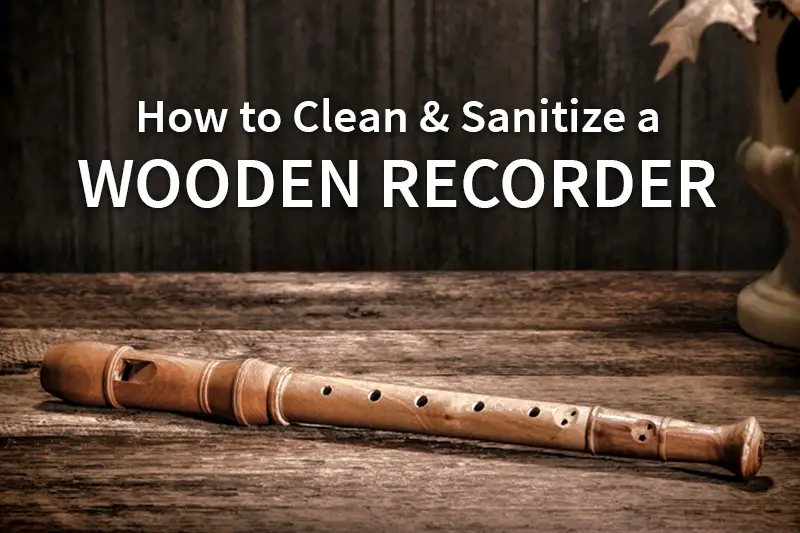
Your wooden recorder was once a living, breathing organism that was a part of a tree, so it’s understandable that once it’s been molded and engineered to produce sound, it still needs to be maintained. Like other instruments, it should be cleaned and sanitized regularly to maintain its sound quality.
To keep your wooden recorder in good condition, it is essential to clean the inside after every use with a cleaning rod and cloth to prevent mold and dirt build-up. Additionally, you should regularly remove any surface dust, oil the instrument, and dry it thoroughly after cleaning or sanitizing.
Cleaning a wooden recorder isn’t exactly as simple as running a soft cloth through it after use, however. Below are a few tips on how you should clean and sanitize your instrument to keep it looking and sounding its best.
How Do You Take Care of a Wooden Recorder?
How you take care of a wooden recorder should start by paying attention to how often—and how long—you play the instrument.
Condition New Recorders
 Generally, wooden recorders are susceptible to moisture build-up, or “swelling,” due to the wood absorbing moisture. As a material, the wood needs to become accustomed to the warmth and dampness of your mouth, so you must condition the instrument after you’ve purchased it. If your recorder isn’t conditioned, the wood can deform and eventually crack.
Conditioning involves playing your instrument progressively, increasing the time played every week until you can play it consistently without worrying about your recorder’s wood warping. Try not to exceed the following limits:
- 10 Minutes per day during the first week
- 15 minutes per day during the second and third week
- 30 minutes per day during the 4th week
After these initial periods, you can gradually extend the duration of how long you play.
Rinse Your Mouth Before Playing
In general, when using your wooden recorder, you want to do so while having a clean mouth. Like other wind instruments, you want to keep your mouth clean to prevent any debris or substances from getting lodged into your wooden recorder, all of which can dampen its quality and sound.
If you’ve eaten recently and proceed to play your recorder, some of your meal can get clogged in the windway and cause mold to develop, which can and will have some respiratory effects on the player as well, so you definitely want to be extra particular about oral hygiene.
Warm Up Your Recorder Before Playing
 If you’re using your recorder daily, you can keep it in good condition by warming it up before playing.
Wooden instruments react very strongly to the temperature in the room; if the temperature is lower, the recorder’s sound will be flatter, and if it’s higher, it’ll be sharper. So, warm up your instrument first for it to sound best.
You can warm up the head joint (the top of the recorder) by putting it somewhere warm, like the palm of your hand. Avoid using excessively hot places to warm up your instrument because it can cause the wood to crack.
Remove Excess Moisture During Practices
If your recorder clogs up with moisture during playing, there are a few things to do to alleviate this problem.
You can place your finger over the labium pit (the top opening closest to where you put your mouth) and blow the water out. You can also place your hand over the mouth opening instead and then blow the air out through the labium. Regardless of which method you use, both will be effective enough if you’re playing your recorder regularly.
Alternatively, you can use a recorder cleaning rod and soft cloth, or cleaning swab, to remove any moisture.
Avoid Overplaying
Keep in mind that wooden recorders can be overused, so be cautious of that as well. If you intend to play for more than 40-60 minutes, then it’s recommended that you get a second instrument.
If you play your recorder for this long, there’s a chance that it can be afflicted by “waterlogging,” an instance in which your instrument may not be dry enough for your next practice session.
Regularly oiling your recorder is crucial to the maintenance and longevity of your recorder. It protects your recorder from the debilitating effects of moisture build-up and drastic temperature changes. It will also help maintain a quality appearance and sound.
Oil Your Recorder
Oiling your recorder is a simple but time-consuming process. Using a recorder swab (or rod with cloth), oil the interior of your instrument, then the outsides. When oiling the labium, take care not to add too much pressure, or you could risk ruining your recorder. Most recorder makers recommend sweet almond oil since it is easily absorbed into the wood and is odorless. You can find organic sweet almond oil on Amazon.
After you’re finished oiling, let the parts sit horizontally. In an hour, double-check the labium and tenons to see if any oil has been absorbed there. If so, reapply oil in these places and leave your instrument out overnight to dry. The following day, dry off any oil residue you see and be extra attentive about any oils you see in the holes of your recorder.
Store Your Recorder Properly
You also want to avoid storing your wooden recorder in locations that can lead to damage. For example, you want to be cautious about leaving your instrument exposed to excessive cold or hot temperatures. Store your recorder in its case or a specifically designed bag.
Regularly Clean and Sterilize Your Recorder
It’s essential to clean your recorder regularly so you can prevent any harmful substances from building up. The airways responsible for creating your recorder’s sound can get blocked, so consistently cleaning your instrument is a fantastic way to prevent that.
How to Clean and Sterilize Your Wooden Recorder
When dust, mold, or stickiness are present on your wooden recorder, it’s time to clean and sanitize it. Here are some steps to cleaning and sterilizing your instrument:
Cleaning Wooden Recorders
- Twist the recorder and separate it into its two sections; this will make cleaning much more manageable.
- Fill a large basin or container with warm water with a few drops of mild dish soap. Wash each recorder segment and scrub away any hard-to-clean spots—like the crevices or within the keyholes—with a cotton swab (Q-tip).
- Rinse off the soap from the recorder’s interior and exterior, and then dry it off. You can use a recorder cleaning rod with a soft cloth to gently dry off the inside.
Sterilizing Wooden Recorders
 Using either a 50/50 solution of mouthwash and warm water or vinegar and warm water, saturate each recorder component. Make sure that you soak the mouthpiece, too. The instrument should not be in the solution for more than 15 minutes, as it could crack if left for too long.
- Rinse off your recorder with warm water once again. This will remove any residue and smell.
- Carefully shake off any extra water from your recorder, then dry the exterior with a soft cloth. Make sure to air dry the instrument before storing it to prevent mold build-up. After it’s thoroughly air-dried, store your recorder in its case.
How Is Cleaning a Wooden Recorder Different from Ivory or Plastic?
Ivory or plastic recorders are perfect beginner instruments for grade school children in music classes. Not only are they inexpensive recorders, especially in comparison to their wooden counterparts, but they also have a simple cleaning process.
Being primarily plastic, you only have to be concerned about the dirt from your hands getting onto the recorder’s body and saliva getting inside.
When cleaning ivory and plastic recorders:
- Disinfect the mouthpiece by placing it in a hot water solution with dishwashing soap and vinegar for 10 minutes.
- While that’s happening, clean the recorder’s exterior with a rag dipped into the same mixture. Using a toothpick or cotton swab, you can clean the small holes the instrument has as well.
- Afterwards, rinse the recorder and let it air dry before reassembling and storing.
Overall, the cleaning process for a plastic or ivory recorder is the same except that plastic recorders can be washed in hot water and soaked for more extended periods, while wooden ones cannot.
In Summary
Cleaning a wooden recorder is a simple process that should be done every so often, consisting of disassembling, washing, sanitizing, rinsing, and drying. However, keeping your instrument clean also boils down to how consistent you care for it after every use; this includes staying mindful of how often and how long you play it and properly storing it after cleaning.
