
When it comes to cleaning anything in life, there are always products that swear up and down that they will make the process a walk in the park. From magic erasers for marker on the wall all the way to spinning toilet brushes (which seem like a pretty horrible idea if you ask us), there’s always products specifically created to make it easier for anyone and everyone to perform their desired cleaning tasks. The same can be said with flute cleanings as well. With anti-tarnish charcoal strips and even the cleaning rod itself that this entire article is all about, the goal of these products is to allow flautists to clean their instrument in half the time and not worry about dirt, tarnish, rust, or bacteria buildup in the process.
However, just as you may ponder whether or not a Shamwow really is ‘tough on grease’, you may also be concerned about the effectiveness of a cleaning rod, how to use it, and whether or not it may be better to just create one at home and save the money.
To clean with a cleaning rod appropriately: disassemble the head, body, and foot joints, and then thread a microfiber cloth through the rod’s hole like a needle, wrapping the excess cloth around the rod. Then, insert the rod with cloth into each flute section and gently twist to pick up all moisture. For the body section, use the rod on each end to clean fully. You should focus more on absorbing the moisture than scrubbing or wiping down your flute when using your cleaning rod.
This is where the comprehensive breakdown comes into play. In order to better understand the process of using a cleaning rod, its overall effectiveness, the cleaning products to use along with it, and whether or not a DIY option is better, let’s break it all down below in a step-by-step instruction guide for any and all flautists to easily follow along with.
The proper steps to cleaning a flute with a cleaning rod
All in all, the cleaning process with a cleaning rod is far easier than without but it is still important that you follow these instructions so as to not damage your flute’s interior or miss any of the moisture and tarnish that may build up inside.
1. Disassemble your flute
The first step when cleaning your flute with a cleaning rod is to disassemble your flute. To do this, simply twist the head joint and foot joint off from the body and set them down on a clean workspace. Be sure to not damage your flute when doing this as it is highly important to keep the cork tenons in good condition as a flute leak can damage your instrument’s sound and ability to be played over time.
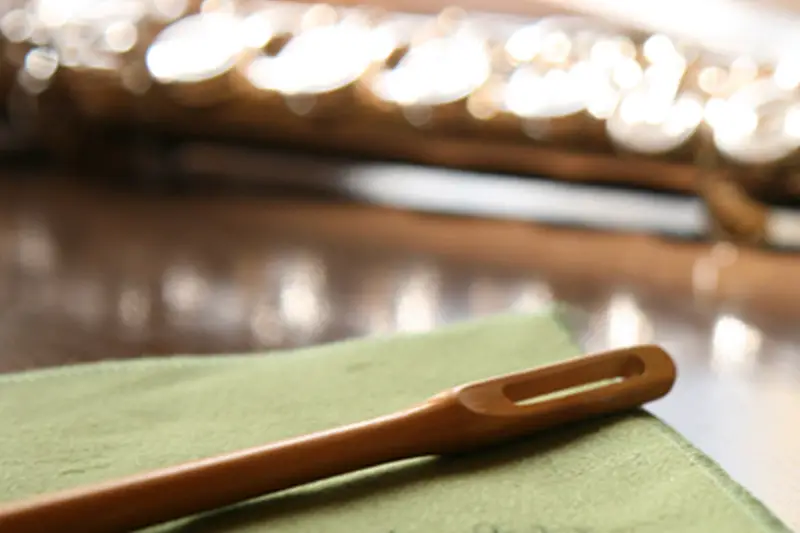
2. Thread a microfiber cloth through your cleaning rod like a needle
 The next step requires you to have purchased the cleaning rod already. If you don’t currently have a cleaning rod or any cleaning supplies for your flute in general, feel free to check our links in the right sidebar today (we highly recommend this wooden cleaning rod on Amazon). Once you have your cleaning rod handy, thread your microfiber cloth through the hole at the top of your rod like a sewing needle and position it to where half of the cloth is on either side. This ensures that your cloth does not come off inside your flute and get stuck during the cleaning process.
3. Wrap the cleaning cloth around the rod to avoid scratches
After your microfiber cloth is threaded through the cleaning rod hole, wrap the cloth around it so that none of the rod is exposed. The main reason for this is that your rod could very easily damage your flute’s interior or scratch the silver if it hits or rubs against it often enough, especially if you are using a metal rod. Wooden rods are easier on your flute’s interior. If you are struggling to keep the cloth in place, you can also secure it with a rubber band to the rod at the ends of the cloth.
4. Thoroughly clean each part of your flute’s interior
With your cleaning rod and cloth together, insert the cloth into the head joint to focus on the worst place first. This is where the moisture from your breath will likely accumulate and also where you may find the most tarnish likewise. Be sure to avoid hitting the cork in the headjoint as damaging this can significantly affect the sound of your flute, as it could disrupt the seal. Cleaning the flute’s interior is also called swabbing.
Next, move on to the body and foot joint. These are the easiest parts to swab, as long as you are careful. Be sure to be cautious as you clean around the cork tenons during this process and try not to damage the pads as well. Many musicians will use a different product, called a Pad Saver, specifically to remove any moisture from the pads without damaging them at all.
With these four simple steps, you are completely done with your cleaning rod flute cleaning process and can now move on to polishing and disinfecting the rest of your flute. Now, the big question is: does a cleaning rod really make the process easier and can you just make one on your own?
Does a cleaning rod actually make the cleaning process easier?
Another big question that countless flautists ask when considering purchasing a cleaning rod is whether or not it is even useful or effective to begin with. According to Flutes.com, the cleaning rod is the most important accessory for every flute player as it keeps your pads dry for longer and reduces bacterial growth in your head joint. For these reasons alone, the cleaning rod is highly effective.
While you can simply buy a doweling rod or a pipe cleaner instead, the easiest approach is usually to use the right tool and, with such a low price already, it’s obvious why flute players typically simply purchase flute cleaning supply kits that include the cleaning rod and call it a day.
Even from a cleaning standpoint, the cleaning rod makes it far easier to clean the interior of your flute and not scratch it during the process. It also is easy to use and can last for years if cared for properly. Fortunately, many flute cleaning supply kits include the cleaning rod and microfiber cloths making it an easy decision to go for and more effective than trying to push the cloth into each flute piece with a pencil or your finger.
Can you make your own cleaning rod at home?
Although it really isn’t necessary considering how cheap the average wood cleaning rod actually is, you may still want to have other options at your disposal. For these situations, buying a standard pipe cleaner with soft bristles is a good option as is the doweling rod rubber band setup. To use the doweling rod option, buy a standard wooden dowel for less than a dollar from Walmart and cut it to fit your flute length. Next, take a microfiber cloth and wrap the rod with it and use a rubber band to secure it at the bottom.
To wrap it up…
All in all, the cleaning rod is a highly useful and cost effective addition to any flautists cleaning supply kit and, with an understanding of how to use it properly, you can avoid bacterial growth, moisture buildup, and tarnishing guaranteed. If you would like to learn more about how to keep your flute clean, be sure to check out our other flute articles!