
Taking care of your bassoon is an essential step in protecting its lifespan and getting the most out of your instrument. Regular cleaning should be conducted after every playing session, and there are a few more thorough steps that should be completed every few months to ensure that your bassoon is fully protected.
This article offers a step-by-step guide to cleaning your bassoon, as well as a breakdown of the different parts of the bassoon to familiarize yourself before beginning. Read on to learn everything you need to know about taking care of your bassoon.
Familiarize Yourself with the Bassoon’s Parts
The bassoon can be thought of as a long tube folded in half. The instrument consists of several pieces that can be taken apart for thorough cleaning. It is important to be familiar with each piece so that you know exactly how to clean your bassoon.
What Are the Parts of a Bassoon?
 Below is a list of the parts of a bassoon. Look over this section to familiarize yourself with the terminology before continuing on to the rest of the article.
- Reed: The reed is a small piece that the player places in their mouth in order to play the instrument. Often made of wood or other organic materials, the reed is fairly fragile and extra care should be used when handling it.
- Bell: The bell is the round, cone-shaped piece at the end of the bassoon. The purpose of the bell is to amplify the sound coming out of the body.
- Crutch: Quite simply, the crutch allows the player to rest the instrument on their hand while keeping the body stable. The crutch should never be removed when performing maintenance, unless by a trained professional.
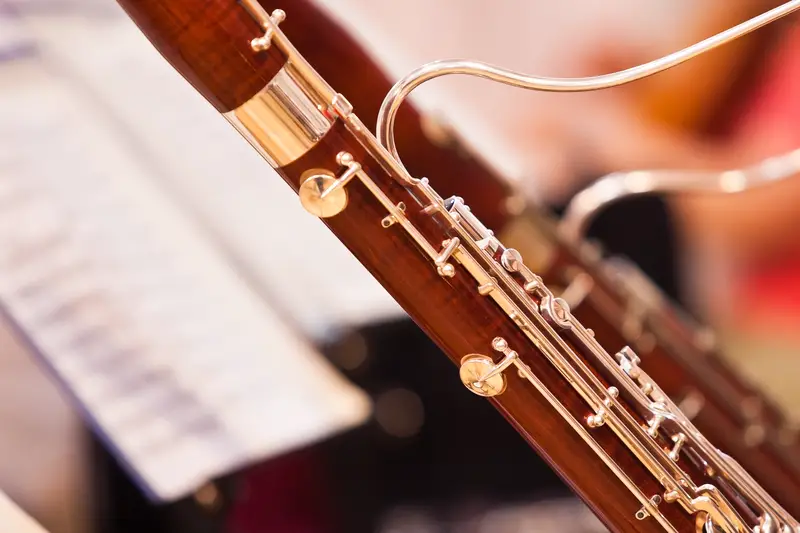
- Keys: The player uses the keys to play specific notes, by covering or uncovering them. The keys are in addition to the five finger holes on the body of the bassoon.
- Bocal: This piece connects the reed to the rest of the bassoon and can be altered depending on the player’s personal preference.
- Wing Joint: The wing joint is a section of the bassoon that connects the bocal and the boot joint.
- Boot Joint: This is another section of the bassoon that can and should be removed for cleaning purposes.
- Long Joint: The section of the bassoon that connects the bell to the boot joint. This is typically the longest section of the bassoon.
Gather Your Supplies
 You don’t need many supplies to clean your bassoon. In fact, you should only need two general items for your cleaning sessions:
- Bassoon swab: Often attached to a stick for hard-to-reach places, a bassoon swab should consist of a soft cloth for removing internal moisture.
- Oil: You will need to purchase oil for polishing the exterior of your bassoon. Light almond oil or mineral oil are great options.
Always use products that are specifically designed for cleaning a bassoon when maintaining your instrument. Otherwise, you could damage the delicate wood and interior.
Where to Purchase Bassoon Cleaning Supplies
There are several places you can visit when searching for cleaning supplies:
- Local music store: This is the best place to go when searching for supplies, as the store should have everything you need. Additionally, employees may be able to help you determine which products are the right ones for you.
- Online: If you find yourself too far away from a music store or convenience is key, online is the next best place to go. There are many online music retailers as well as Amazon that supply exactly what you need.
Now that you’ve familiarized yourself with the anatomy of the bassoon, and you know what supplies you need, we can take a look at the different steps of cleaning your instrument after playing.
Swab the Inside of the Bassoon
Once you’ve finished playing, the first thing you’ll want to do is separate the bassoon’s parts. This will allow you to swab the inside of the instrument. Removing any internal moisture is a very critical step, as leftover moisture can damage your bassoon and require a very expensive fix.
This next section will cover how to swab your bassoon to ensure that you are removing the moisture effectively.
How Do You Swab a Bassoon?
 To swab the inside of a bassoon, use a small cloth attached to the end of a stick (called a bassoon swab) to clean the hard to reach areas. First, remove all of the respective parts of the bassoon, and be sure to empty them of any collected moisture. Next, use the cloth to clean the internal tubing as well as any keys or finger holes.
It’s a good idea to swab the inside of the bassoon several times until you’re sure that there is no remaining moisture in the body. Once you’ve completed this step, it’s safe to properly store the bassoon until you’re ready to play again.
Wash the Reed
 Because the reed is placed in the player’s mouth, it is important to properly clean it between uses. Once the reed has been removed, use either your fingers or a soft cloth to wipe off any dirt or extra saliva from the outer sides of the wood.
To clean the inside of your reed, soak the reed in a cup full of water for a few minutes. To finish the process off, run the reed under cold water and let air-dry for ten to fifteen minutes. Be sure to store your reed in a cool, dry place to avoid any mold growth.
Reeds should be replaced regularly as the wood can become brittle over time and ultimately break.
Lubricate the Keys
Every so often, the player should lubricate the keys to ensure smooth playing. If keys become sticky, they can break easier which in turn causes damage to the instrument as a whole. According to Taylor Music Inc, the frequency of lubrication all depends on the type of oil being used.
The website recommends using a synthetic oil, as it is more likely to last longer than anything petroleum-based. To lubricate your bassoon, remove the keys and directly apply oil to the hinges. Massage the oil into the key to ensure every part has been covered.
Before moving to the next step, be sure to use a soft cloth to remove any extra oil from the surrounding areas. This will ensure that no damage is done to the rest of the instrument.
Apply Oil to the Outside of the Bassoon
 Like lubricating the keys, oiling the outside of the bassoon should be done when needed.
Begin by polishing the body of your bassoon with a soft cloth to remove any moisture. During this step, check for any scratches or other damage to your instrument. Now is a good time to examine all the pieces of your bassoon and ensure that everything is in working order. If anything on your instrument needs to be repaired, you should have a professional look at it.
Using a soft cloth and a light mineral oil or almond oil, gently polish the body of the bassoon. Be sure not to use too much oil to begin with as you can always add more. Once this step is complete, allow the oil to dry slightly before storing your instrument away.
Final Thoughts
Properly cleaning your instrument is an important step in playing the bassoon. In order to extend the life of your bassoon and save money on maintenance, follow along each step as outlined in this article. When in doubt, consult a professional about the best ways to care for your instrument!